 ultimate-guide
Best Practices for Mountain Woodworking Projects
Last Updated: October 24, 2026
Best Practices for Mountain Woodworking Projects: Wood, Tools, and Layout
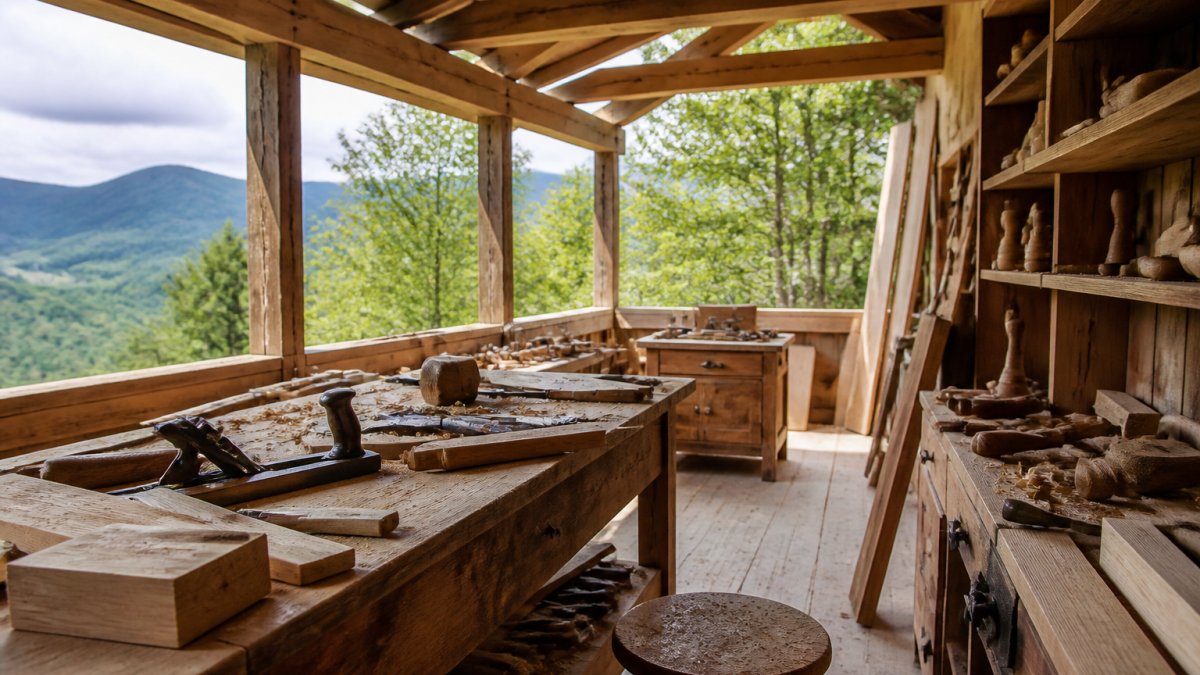
Best practices for mountain woodworking projects start with wood selection, where most DIYers go wrong. Readers who want custom woodwork done for them can see the service offering and request it. The 2026 U.S. Department of Agriculture Forest Products Laboratory wood handbook is the technical reference we trust for moisture behavior.
- Select wood for stability, not just looks. Pine and plywood are forgiving; aspen dents easily.
- Acclimate and plan the layout. Let stock sit in the space, then mark your design on a backer board.
- Cut, test-fit, then fasten. Dry-assemble every layer before glue or screws go in.
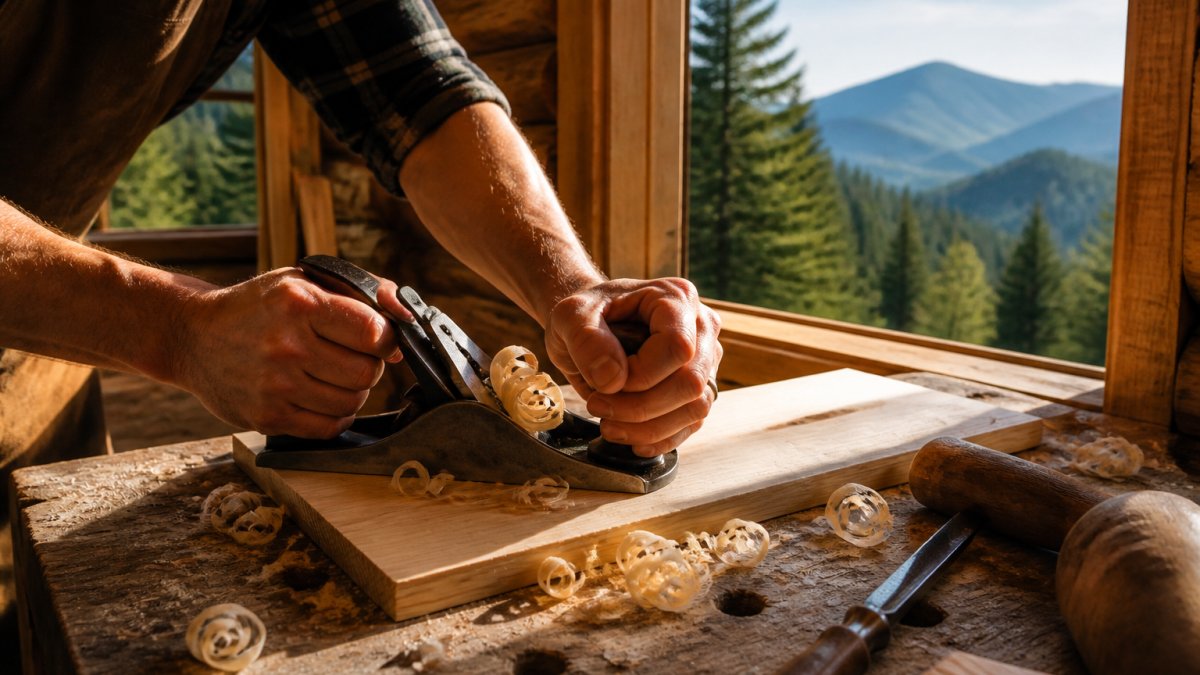
Wood Mountain Wall Decor and DIY Mountain Wood Art That Last
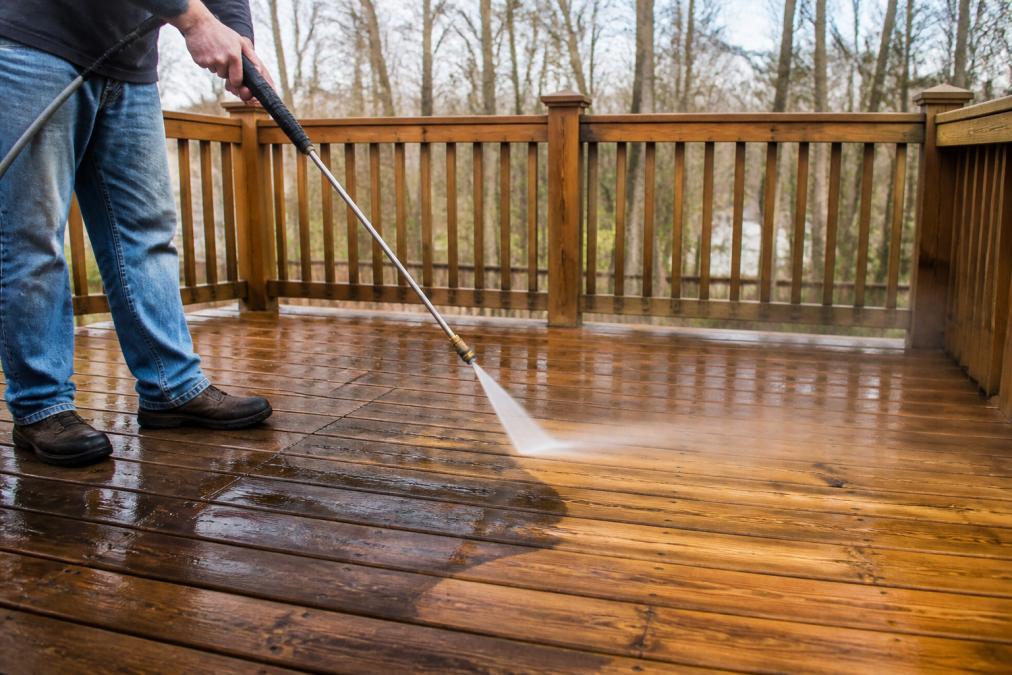
Wood mountain wall decor lasts when the wood is dry, the layers are thin, and the back is sealed. For a deeper look, see our custom woodwork for mountain cabins guide. A backer board should be 1/2-inch plywood, with 1/4-inch stock for the peaks. Cut strips on a table saw, plane them to consistent thickness, and run grain along each peak's long axis to resist bowing. For outdoor pieces, see our guidance on protecting wood decks from mountain weather.
Scrap Wood Mountain Decor: Test Fits, Fastening, and Finishing
Scrap wood mountain decor is where beginners get the best value, since small offcuts are cheap and forgiving. Dry-fit every layer, mark overlaps, then fasten from the back with short screws or brads so no hardware shows. If fastening or finishing is beyond you, our handyman service covers smaller jobs, and you can call for a free estimate any time.
| Step | What to Do | Time | Check |
|---|---|---|---|
| Acclimate wood | Let stock sit in the room | 3-7 days | No warp at edges |
| Mark layout | Draw peaks on backer board | 20 min | Grain runs long axis |
| Cut and shape | Table saw strips, then carve | 45 min | Consistent thickness |
| Test fit | Dry-assemble all layers | 15 min | No gaps at joints |
| Sand | 80, then 150, then fine grit | 30 min | Smooth to the touch |
| Stain and seal | Rag on stain, sealer on all faces | 24 hrs | Back sealed too |
Mountain woodworking rewards patience over speed, and most failed projects trace back to wet wood and skipped test fits. If you would rather hand the build to a team that finishes what it starts, King's Choice Solutions offers licensed and insured custom woodwork, direct communication with the owner, and final payment due only after you are satisfied. Get started with King's Choice Solutions and get woodwork built for mountain conditions the first time.